Traeger Pro Series Grill Unboxing and Assembly
PRO GRILL UNBOXING & ASSEMBLY
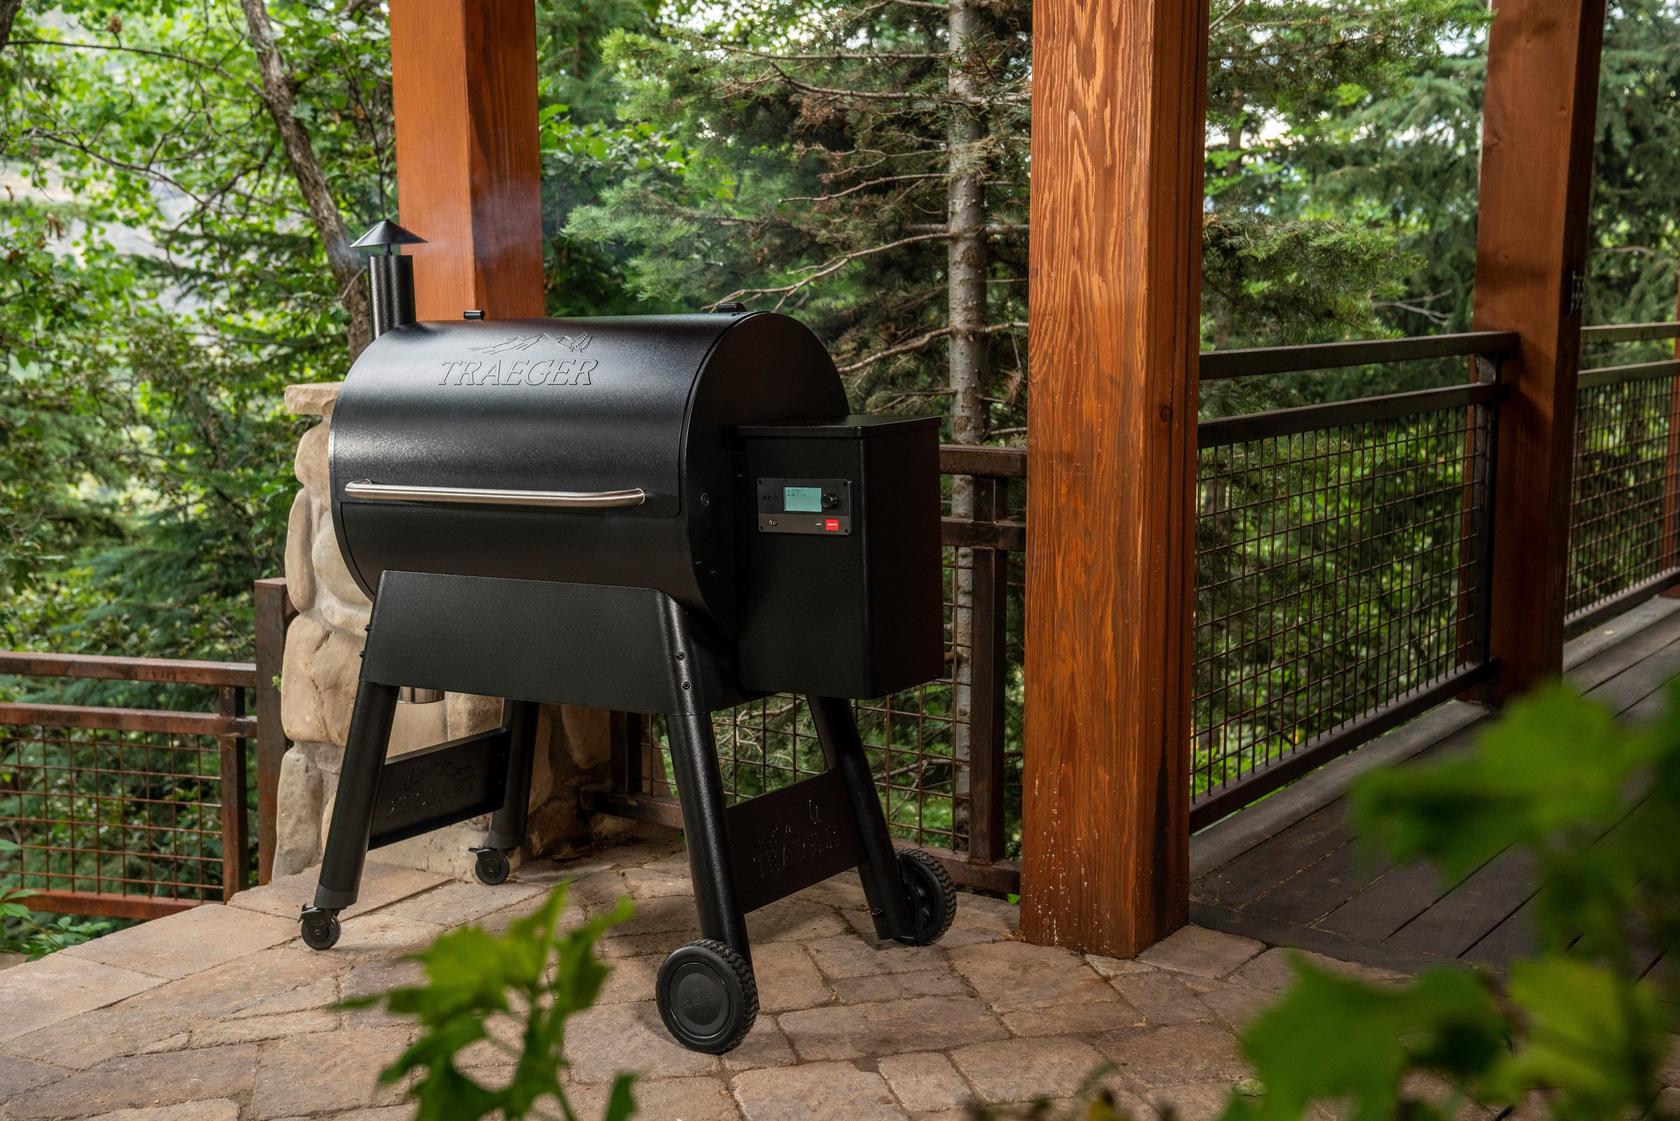
Welcome to Traeger Nation! You’re going to love how easy it is to create wood-fired flavor on your new Traeger Pro Series grill. This comprehensive guide to unboxing your Traeger Pro Series grill will have you Traegering in no time.
Follow these instructions to assemble your new Traeger Pro Series grill:
Pro tip: Assemble grill on a clean, flat surface. You will be laying the grill on its front and back sides during assembly.
Important: This grill is very heavy. Always lift the grill with two people.
- Install legs
Flip grill upside down. Pro tip: To protect the finish of the grill, use the plastic bag covering the grill as a barrier between grill and cardboard when assembling the legs.
Note: When fastening legs to grill, fasteners assemble in this order: Bolt: 5/16-18 socket head, washer, leg, washer, spring washer, hex nut: 1/4-20.
Attach legs to grill, beginning with the wheeled legs. Assemble in this order: One bolt: 5/16-18 socket head, one washer, the leg, another washer, a spring washer and secure with the hex nut: 1/4-20. Repeat in remaining hole. Repeat this fastening process for the other wheeled leg. Attach the remaining legs without wheels to the grill. Assemble in this order: Assemble in this order: one bolt: 5/16-18 socket head, one washer, the leg, another washer, a spring washer and secure with the hex nut: 1/4-20. Repeat in remaining hole. Repeat this fastening process for the other leg without a wheel. 2. Install leg braces
Attach the leg brace to the legs using four of the 1/4-20x.6 bolts. Attach the other leg brace to the remaining legs using four of the 1/4-20x.6 bolts. With the help of another person, flip grill so that it is right side up. Pro tip: Turning the grill upright will require two people.
- Attach smoke stack and chimney cap
Insert smoke stack. Attach smoke stack with two 1/4-20x.75 bolts, two washers, and secure them with two 1/4-20 hex nuts. Insert chimney cap. 4. Install side lift handle
Remove packaging and parts from inside the grill. Locate the handle and attach to the side of the grill with two of the 1/4 -20x.6 bolts, two washers, and two mica washers. 5. Attach lid of front handle
Attach handle using two 1/4-20x.6 bolts, two washers, and two mica washers. 6. Place interior parts and hopper grate into the grill
Place heat baffle, then drip tray into place. Insert grill grates. Insert hopper grate and connect meat probe. 7. Hang bucket on side of grill
Affix bucket to the side of the grill. Now that you’ve assembled your Pro Series grill, make sure that you’re stocked up on all of the necessities. A full-length grill cover to protect your new Pro from the elements. Drip tray liners make cleanup up a breeze. Also, don’t forget about our pellets, because pairing the right hardwood to our wood-fired recipes is a must.