If you’ve enjoyed pepperoni, bacon, corned beef, or prosciutto, then you know just how tasty cured meats are. But have you ever wondered about the processes of curing your favorite meats? If you're curious about how meat is cured and how to do it yourself, read on.
Meat curing is a time-honored process that involves preserving and enhancing the flavor of meat through a careful balance of time, temperature, and various ingredients. From the ancient methods of air-drying and salting to modern approaches like brining and smoking, each approach contributes distinct characteristics to the final product, resulting in a diverse range of cured meats.
What Is Meat Curing?
Meat, being a perishable food, necessitates proper storage to prevent spoilage. Curing is a preservation method that involves using salt, occasionally sugar, and preservatives like nitrates to extract moisture from the meat and inhibit the growth of harmful microbes to ensure its safety.
Curing is a transformative process that elevates the flavor of meat by infusing it with anything from salt, garlic, and an array of herbs or spices. Moreover, this technique has the ability to alter the texture of the meat, adding to its appeal and culinary versatility.
There are many methods of curing, including dry curing, brine curing, equilibrium curing, and sausage curing.
Each curing style will also provide different results in terms of how preserved the meat is and whether you have to cook it before serving.
What Meat Is Best For Curing?
Pork is a popular choice for curing. Bacon, ham, and sausage are just a few of the cured meats Americans enjoy. A pig offers many options for curing, including entire cuts of meat and ground-up portions to use in hot dogs or bratwurst.
Pork isn't the only option, however, and curing is one of the best ways to use game meat. Deer, for example, makes an amazing sausage. Since deer can be very lean, it cures nicely, and the extra spices help even those who don't like "gamey" meat to enjoy this animal.
Beef can also be transformed through this process. Cured beef, such as Bresaola, showcases the versatility of curing in enhancing the flavor and preserving lean cuts of beef, making it a popular snack and culinary delight.
Fish with a high oil content like salmon, cod, mackerel, and anchovies can also be cured. By curing it you will better preserve the meat, improve texture and flavor, retain moisture, and make it smoker-ready. It's important to remember though that a proper cure depends on the size of the fish. For smaller fish, use less salt and a smaller curing time.
Types Of Meat Curing
There are just as many curing methods as there are kinds of curable meat. The time, ingredients, and level of difficulty vary from method to method.
Dry Curing
One way to cure meat is dry curing, where a piece of meat is placed into a mixture of salt and spices, and then covered completely for at least 24 hours. The salt pulls the water out of the meat, leaving behind a savory flavor.
When the meat has finished its salt bath, remove it and brush off the salt, adding some extra spices if needed. Wrap the meat in cheesecloth to hang in your curing area until it has shrunk down to 65% of its original weight. It can take days or even weeks to reach the stage of being ready to serve.
Many Italian sandwich meats and proteins you’d find on a charcuterie board such as prosciutto, have been preserved with dry curing. Pork makes an excellent dry-curing meat, but beef Bresaola is another favorite way to put that salt and spice to work.
Wet Curing
Wet curing is a meat preservation method that involves submerging the meat, such as pork, beef, or poultry, in a brine or liquid solution, typically containing salt, sugar, and various flavorings. The meat absorbs these ingredients, enhancing its flavor and moisture content while also extending its shelf life.
Wet curing creates moist meat that you can then pat dry and cook in your favorite recipes. It’s a delicious way to flavor meat before smoking.
Equilibrium Curing
If you don't want the mess of a wet brine or need to use a small portion of ingredients, consider equilibrium curing, a more precise way to salt-cure meat. First, the meat is weighed to determine how much salt (about 3% of the meat’s weight) it needs for the brine. The salt gets rubbed all over the outside of the meat, and then the meat is vacuum-sealed and refrigerated. or.
You’ll get the salty, tasty, cured flavor without having to throw cups of salt and spices into the garbage when you’re done.
Beef, pork, or game can all be cured with this method.
Combination Curing
Sometimes, “both” is better, and those who choose combination curing get the best of dry curing and brine curing. First, the meat is injected with a curing solution, followed by a dry rub on the exterior. After it’s been put into the refrigerator, the flavors will develop over time.
Sausage Curing
Sausage curing typically involves a combination of both wet and dry curing methods. In the sausage-making process, meat is ground, mixed with various spices and flavorings (wet curing), and then stuffed into casings. After this initial wet curing step, sausages are often allowed to air-dry or age (dry curing) to further develop their flavors and textures. The specific curing method can vary depending on the type of sausage and regional traditions.
While this may seem counterproductive, the natural bacteria in the meat mixture will encourage bacterial cultures to grow and reach a safe pH level. This is why following a recipe is very important, so you know how much to use and how long to let the sausages cure.
Pork is the most common meat for cured sausages, but deer or elk work, too.
Ideal Environment For Meat Curing
You may be surprised to learn that curing is one instance where it's OK to leave the meat out in non-frigid temperatures. In fact, curing works best at 55 degrees with relatively high humidity, usually around ~70%.
It’s common to see white mold growing on the outside of the meat; it’s part of the process. Things you shouldn’t see include green, brown, or black mold, as well as moist or “leaking” meat. There should be no mold on the inside, either. These are sure signs of spoilage, possibly because you missed a spot when curing, or didn’t get all the meat covered in the salt bath.
If you suspect the meat has gone bad, throw it out. Never risk your health to try to save food, no matter how much time or money you spend on your project.
When Is The Meat Cut Ready To Be Served?
Dry-cured meat is ready to eat when it has lost a significant amount of moisture, typically around 30% or more of its original weight. This process can take weeks to months, depending on the type of meat, curing method, and environmental conditions. The meat should develop a rich, concentrated flavor and show no signs of spoilage, such as off odors or unusual colors.
Wet-cured meat, such as brined or marinated meat, is ready to eat when it has absorbed the flavors and seasonings from the curing solution, and has reached the desired level of tenderness and flavor development. The time required can vary significantly depending on the size and type of meat, as well as the specific curing recipe. Generally, you can tell it's ready when the meat has undergone the intended curing period outlined in your recipe or guidelines. Additionally, it should have a consistent color and texture throughout and exhibit no signs of spoilage.
To ensure safety, it's essential to follow a trusted recipe or consult with an experienced charcutier and use proper curing techniques, including temperature and humidity control.
Best Cured Meat Recipes
Wet curing is the most accessible home-curing method. So whether you’re looking for more traditional flavors, or something exciting and new, these cured meat recipes make a great addition to your next meal.

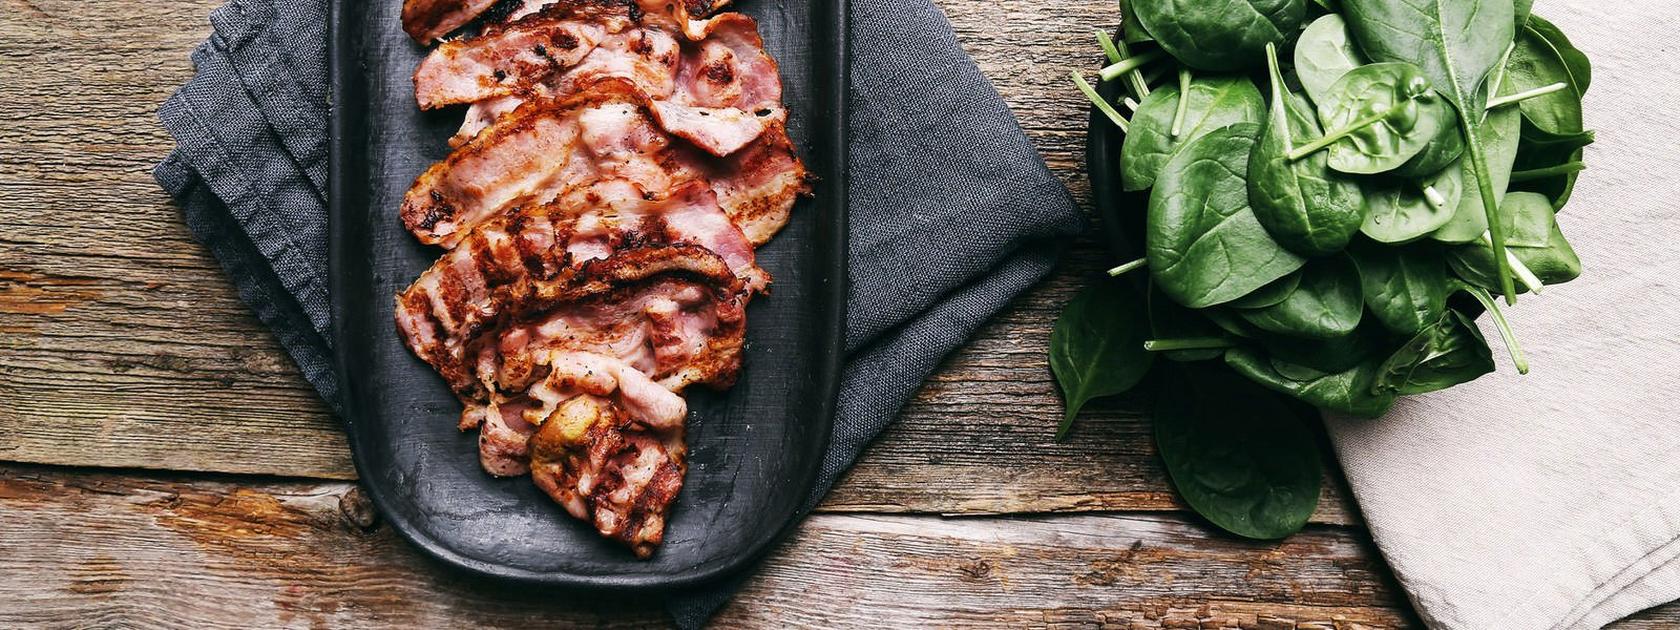
Everyone loves bacon, and this Home-Cured Bourbon Bacon uses just a few simple ingredients and some time in the fridge to turn out amazingly.

Make your next pastrami on rye one to remember. This Smoked Beef Pastrami uses beef brisket and salty-sweet brine. It's definitely worth the long cooking time.

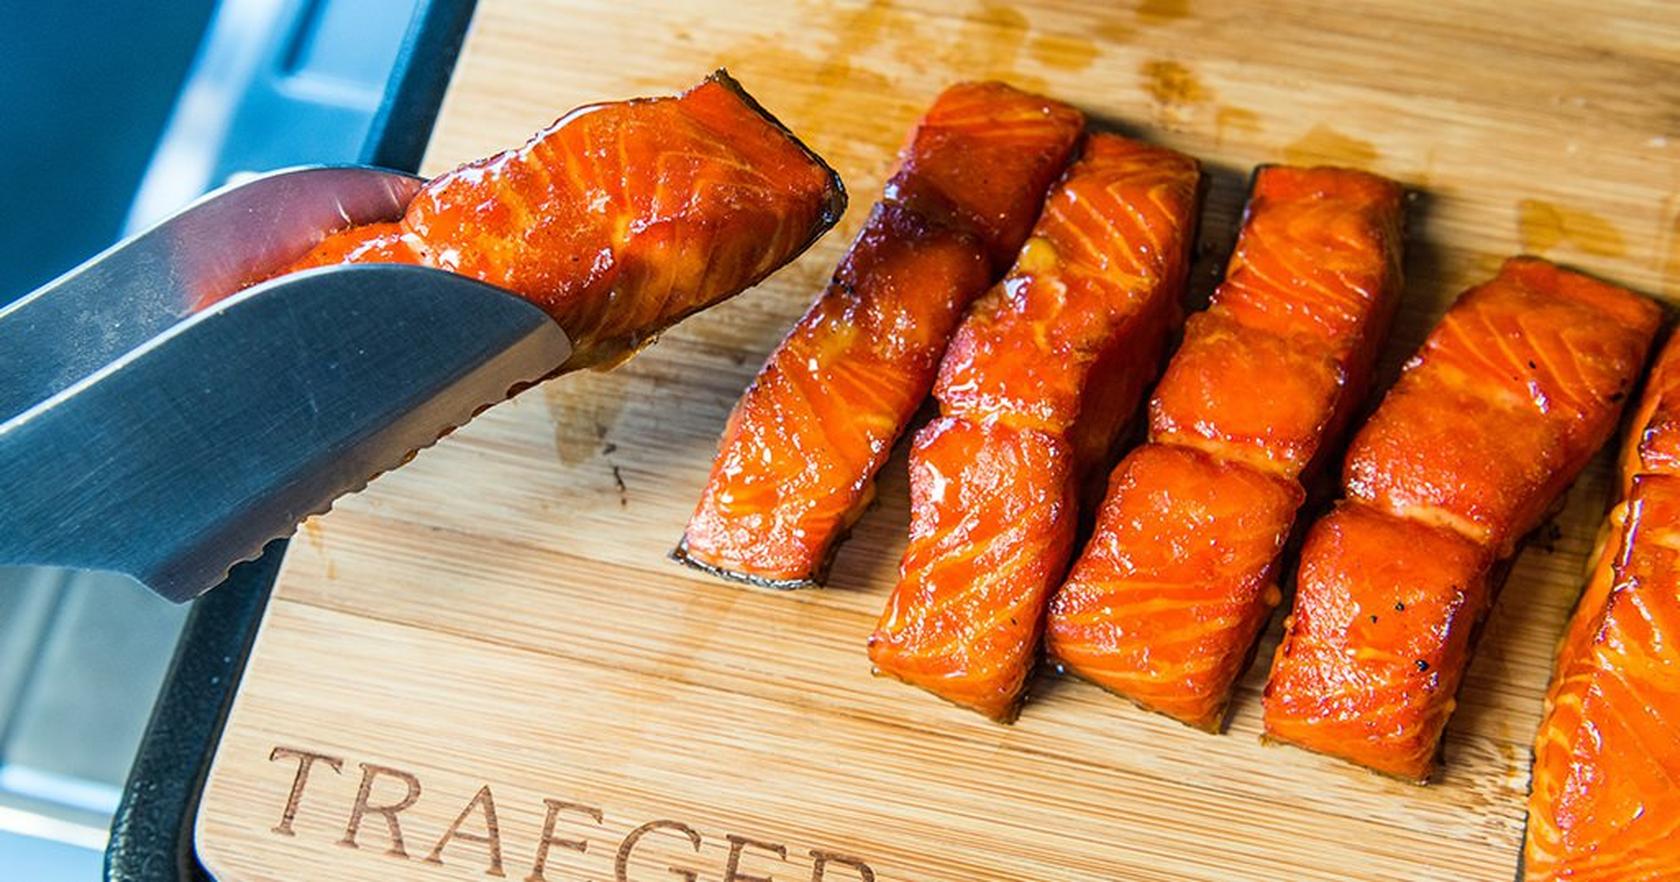
Candying anything will always be a good choice, but when you combine it with a top-shelf salmon filet you'll be getting out-of-this-world flavor. Simply cure the filets overnight in a salt and pepper, brown sugar, gin, and maple syrup mixture, and get to smoking.

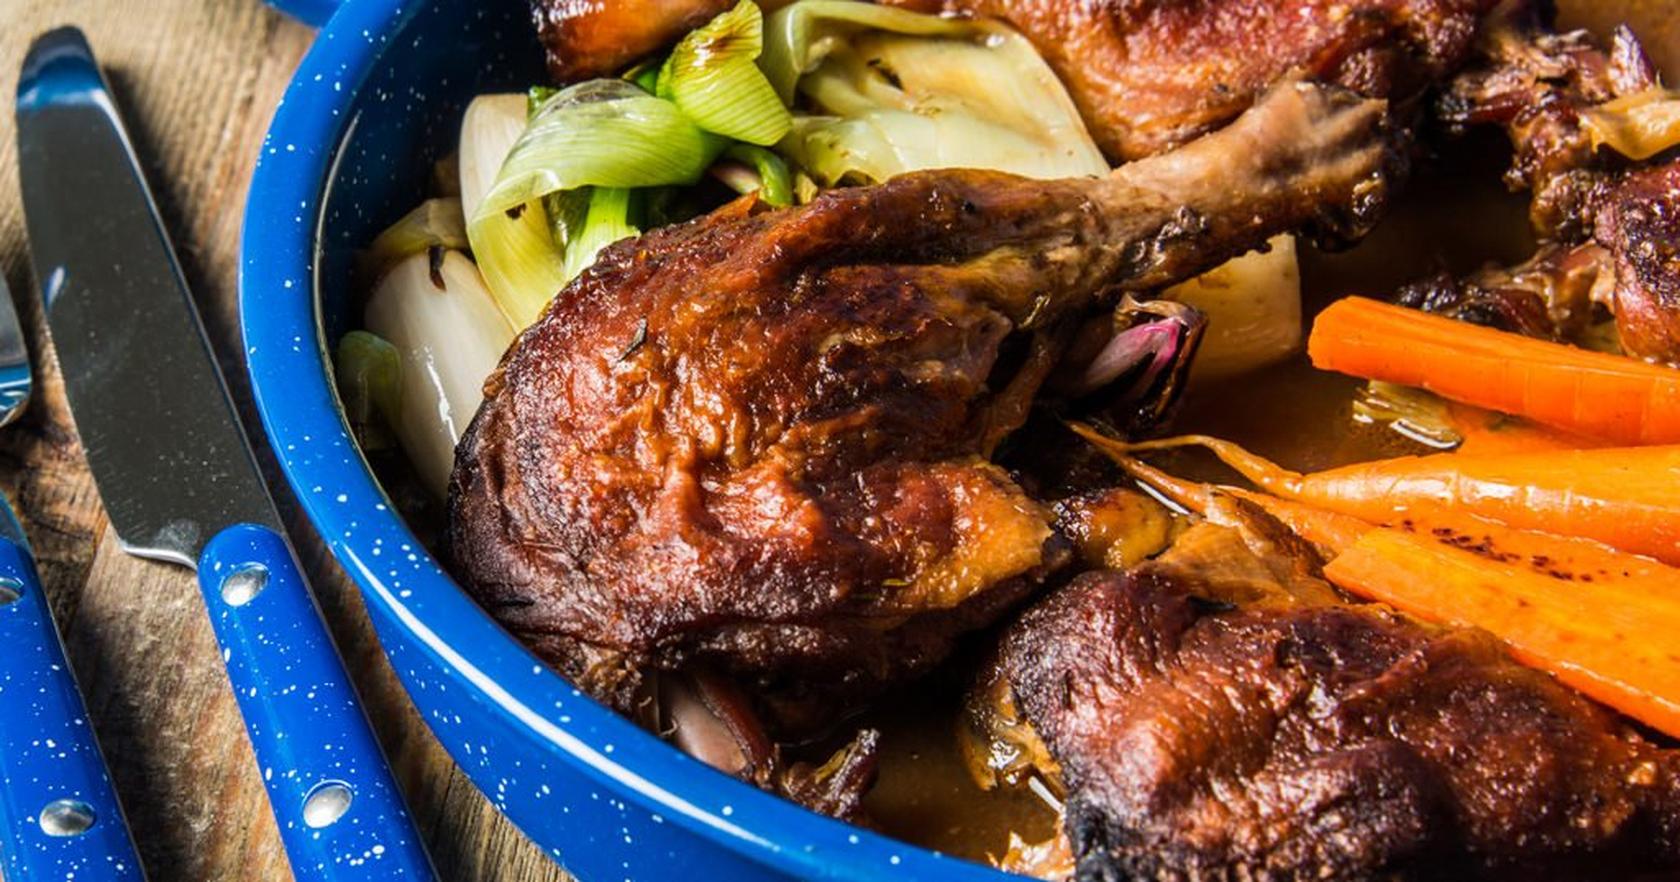
Yes, you can even cure poultry. Dry brine duck legs with a thyme, and brown sugar mix for a rich and savory meal. For best results, plan ahead so you can cure them overnight in the fridge.
Meat Curing FAQ
What salt is best for curing?
Course Kosher salt, free of iodine, is a good choice for home curing because of its affordability and purity.
Curing salts, such as pink curing salt (Prague Powder #1 or InstaCure #1), contain sodium nitrite and serve to prevent harmful bacteria growth and enhance meat flavor and color. Precision in measurements is essential when using curing salts for safety, as they are different from kosher salt. While nitrates in curing salts are generally safe within measured limits, consult a healthcare professional if you have concerns.
You can blend a small amount of pink curing salt with kosher salt for a balanced approach, following trusted recipes and dietary considerations.
Should cured meat smell bad when it’s done?
Cured meat should smell salty, spicy, or like bacon or sausage. It should never smell sour, like rotten meat, or bitter. If you suspect that the meat has not been cured correctly, throw it out. It's not worth your health to try to save meat.
Can you smoke meat after curing?
Smoking is an excellent way to further enhance the flavor of cured meat. The curing process reduces moisture content and adds flavors, while smoking imparts a smoky aroma and taste. Combined, this creates a rich profile in meats
Grilled Sriracha Salmon with Avocado Pineapple Salsa
by Dennis Prescott
16 Reviews
Prep Time
10 Min
Cook Time
20 Min
Serves
6
Pellets
Cherry
Dennis The Prescott’s bringing the sweet-heat with this maple sriracha salmon and avocado pineapple salsa. Try out this smokin' sweet & spicy combo for your next seafood night.
Ingredients
Marinade
| 2 Tablespoon | soy sauce |
| 1 Tablespoon | rice vinegar |
| 2 Tablespoon | Sriracha hot sauce |
| 1 Tablespoon | toasted sesame oil |
| 1/4 Cup | pure maple syrup |
| 3 Clove | garlic, minced |
| 1 Tablespoon | fresh ginger, finely grated |
| Zest of 1 lime, finely grated | |
| To Taste | sea salt |
| To Taste | freshly cracked black pepper |
main
| 1 | (3 lb) salmon side, skin on |
| 1 Teaspoon | toasted sesame seeds |
| Small bunch of cilantro, for serving | |
| Radishes, very thinly sliced, for serving | |
| Zucchini, very thinly sliced, for serving | |
| Sriracha hot sauce, for serving | |
| 1 | lime, halved, for serving |
| jasmine rice, cooked, for serving |
Salsa
| 1 1/2 Cup | 1/2-inch-diced pineapple |
| 1 Large | ripe avocado, peeled and diced |
| 1/2 Cup | finely diced red onion |
| 1/4 Cup | finely chopped cilantro leaves |
| 2 Tablespoon | fresh squeezed lime juice |
| 1/2 Tablespoon | apple cider vinegar |
1
For the Marinade: In a medium bowl, combine soy sauce, vinegar, sriracha, sesame oil, maple syrup, garlic, ginger, lime zest, and a pinch of salt and pepper, and mix well.
2
Place the salmon in a large resealable bag or high-sided dish, and pour the marinade over it. Cover and chill in the fridge for 2 hours.
3
When ready to cook, set the Traeger temperature to 450°F and preheat with the lid closed for 15 minutes.
4
Line a large baking sheet with parchment paper.
5
Place the salmon on the prepared baking sheet, skin-side down. Brush the top of the fish all over with the marinade.
6
Place the baking sheet directly on the grill grates. Close the lid and cook 20-25 minutes until cooked through, and easily flakes with a fork.
7
For the Salsa: In a medium bowl, combine the pineapple, avocado, red onion, and cilantro. Squeeze in the lime juice, add the vinegar, then season with salt and pepper, to taste.
8
Remove the salmon from the grill and sprinkle with toasted sesame seeds. Garnish the salmon with fresh cilantro and thinly sliced radishes and zucchini, and serve with the salsa, extra sriracha, lime halves, and steamed rice. Enjoy!