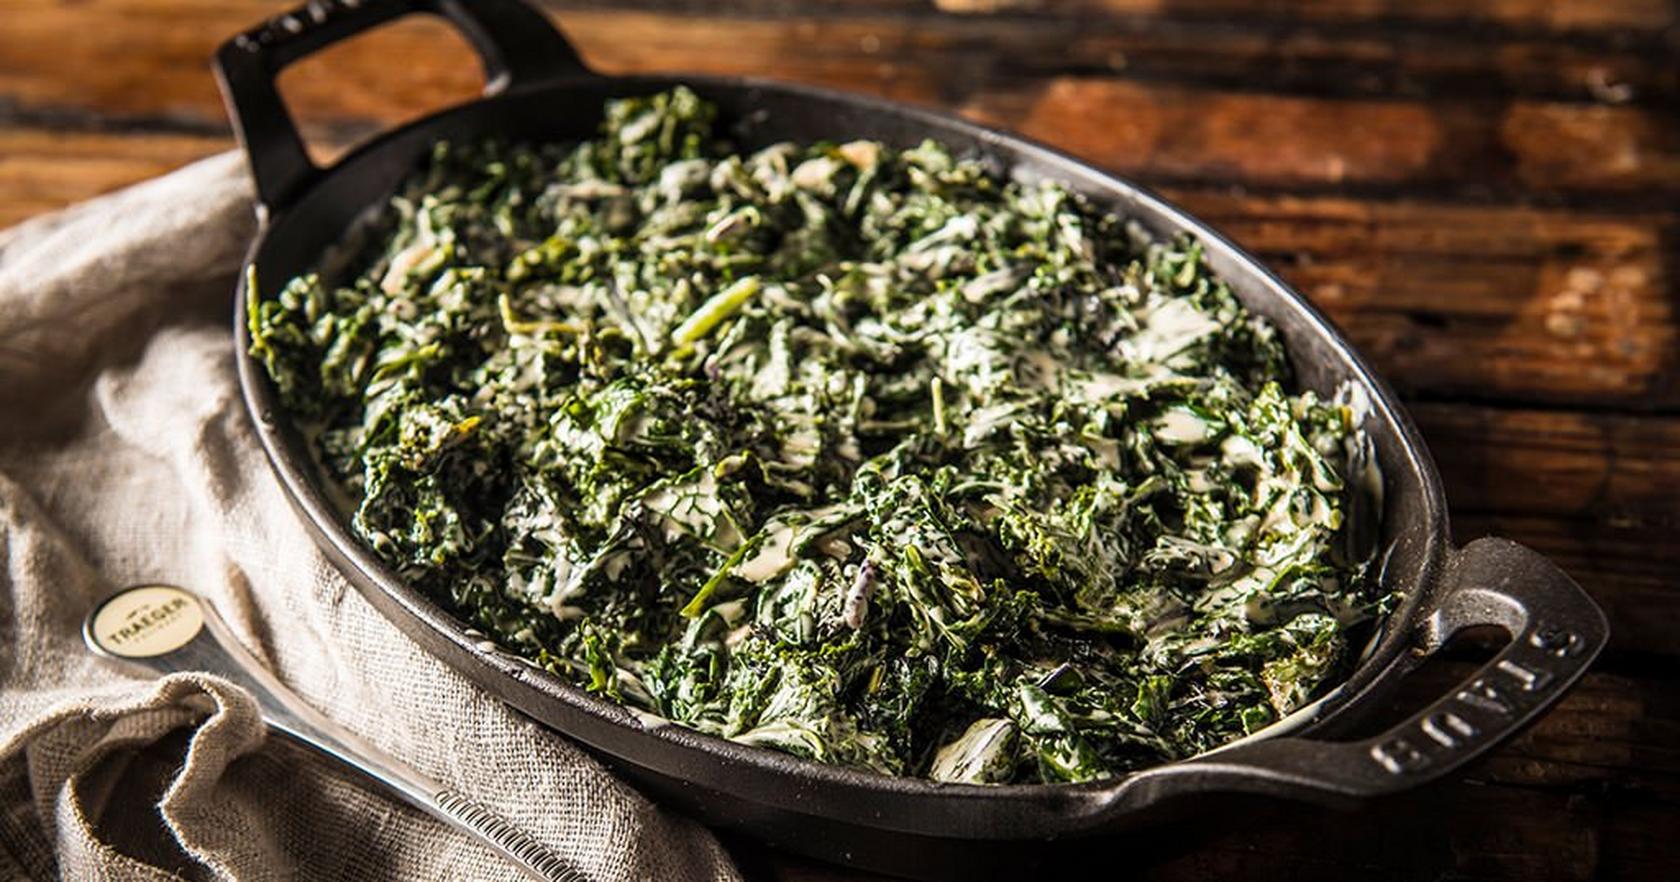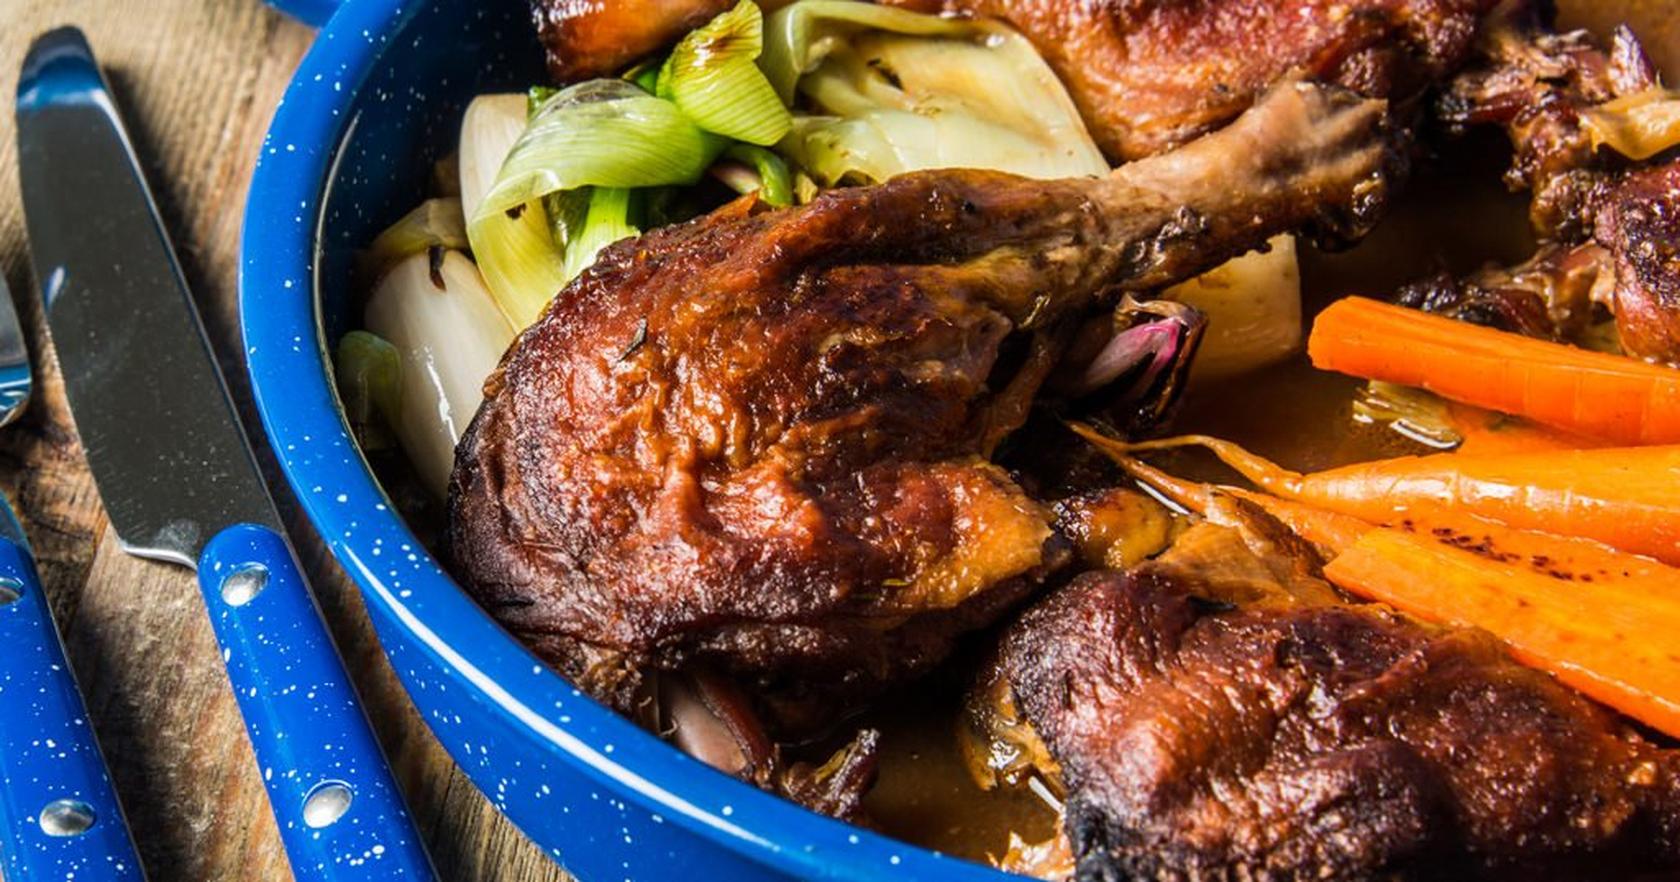
Some of the most popular comfort foods—pot roast, Bolognese sauce, stew, and carnitas—have something in common: They’re all braised. In other words, the meat (or fish or veg) is cooked low and slow surrounded by a flavorful liquid until tender. As it cooks, the meat both adds its flavor to the liquid and absorbs flavors from it. When the time comes to serve, the liquid is now a sauce.
You can braise on the stove, in the oven, and even in a slow cooker, but we think the very best braises are cooked on a Traeger pellet grill. Not only can you easily control the temperature of the grill with its set it and forget it technology, but as the braise cooks it gets imbued with wood-fired flavor.
Braises are perfect for entertaining because not only are they delicious, but their flavor only deepens when made completely ahead.
So, what are the secrets to braising? Keep reading to find out how to master braising meat, vegetables, fish, and more.
How to Braise on the Traeger
The steps for braising on the Traeger are not very different from braising in the oven except that you get to pick a wood pellet to add additional flavor (more on that in a bit). Here is a basic step-by-step for braising:
Pick your pot. That the pot needs to be heatproof should be obvious, but since you are looking to cook with gentle, steady heat, you want it to have a heavy base, too. A classic cast-iron Dutch oven, preferably enamel-lined, is a great choice. The size should be just large enough to accommodate what you’re cooking with just a little bit of extra room. A 5- to 6-quart pot works well for a 4-lb chuck roast, for example.
Start with a sear. Most braises begin with browning the meat (or fish or veg) in the pot it’s to be braised in. We say most braises because this step can be optional. You can do this on the stove or on the Traeger Induction cooktop. Searing gives foods an attractive deep brown exterior. As important are the browned drippings searing adds to the pot, which contribute rich, savory flavor.
Add aromatics. After the meat is seared and then temporarily removed from the pot, in go aromatics, such as the classic trio of diced celery, onion, and carrot known as a mirepoix [meer-PWAH]; look for it in this take on the classic French braise called cassoulet. The Spanish version of mirepoix, called sofrito, typically consists of garlic, onion, and peppers, similar to Louisiana’s “holy trinity,” which is classically used in gumbo. In most braises, the aromatics get sauteed with a little oil or other fat until tender and lightly colored. Fresh or dried herbs and spices are also considered aromatics and generally go in during this step.
Deglaze and with liquid. In a braise, the food is fully or partially submerged in a liquid, usually a broth, often with wine or beer added, and sometimes tomatoes. If adding alcohol, add it first and let it boil for a bit to remove some of the alcohol before adding the rest of your liquid. You also want to scrape up the browned bits on the bottom of the pot with a wooden spoon to incorporate the fond, a fancy French word for the flavorful stuck-on bits mentioned earlier. Once all the liquid is in the pot, return the meat to it.
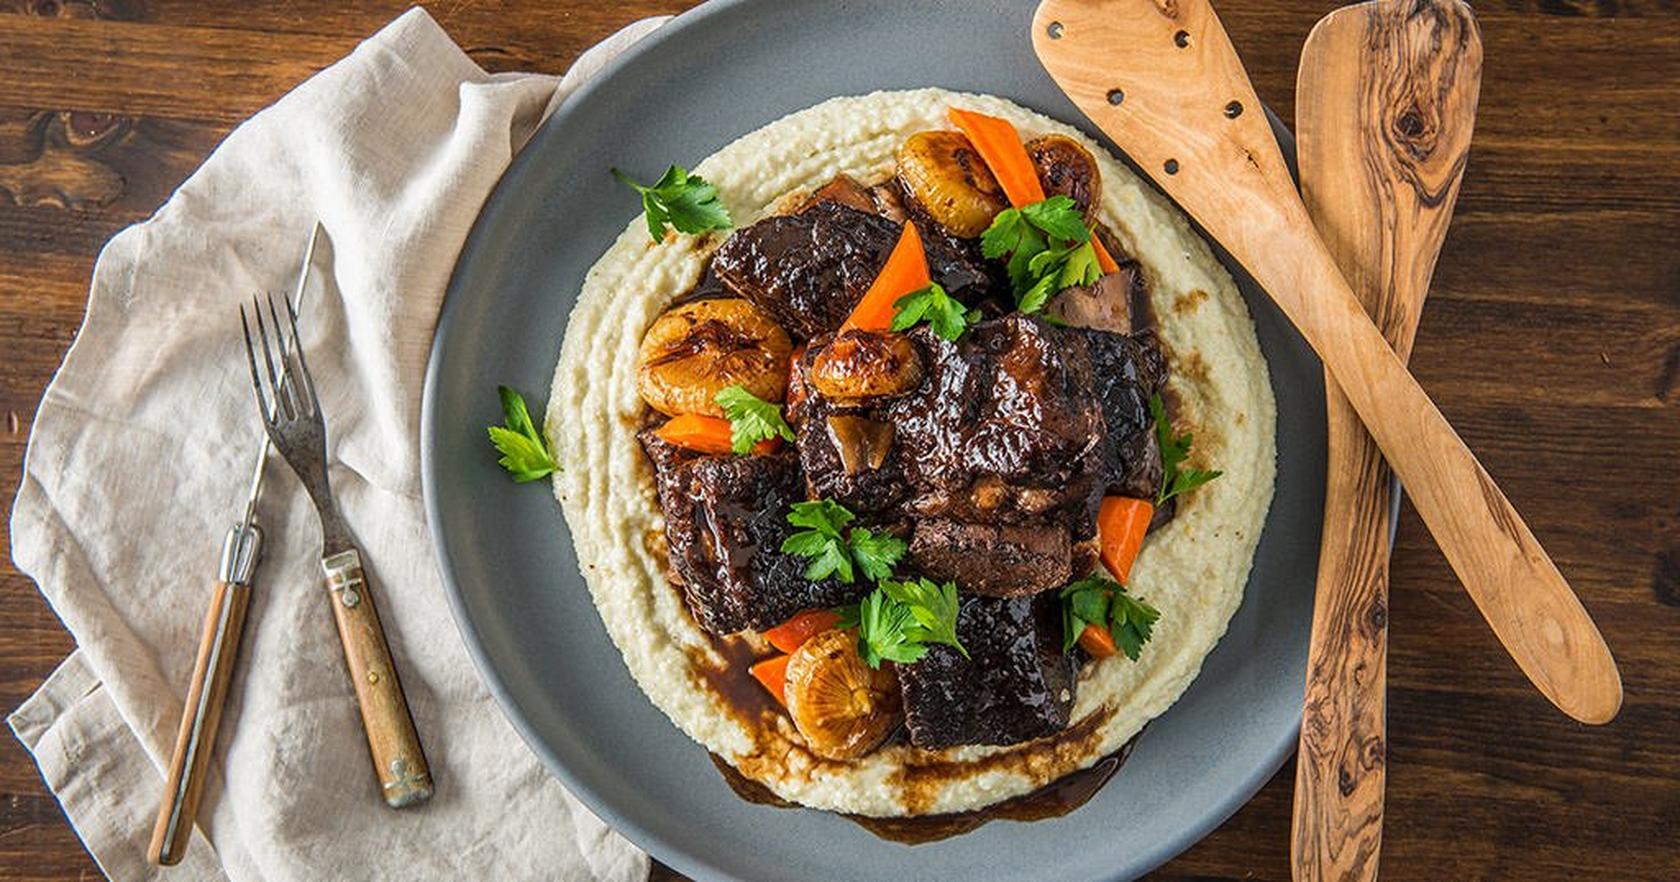
Pick the perfect pellet. Your pellet choice adds more flavor to the braise. If you are looking for strong wood-fired flavor, go with hickory, great for beef braises like these short ribs served over creamy grits. Or try mesquite, excellent with Southwest fare. If braising lighter meats like chicken or pork, you may want to stick with a more mellow pellet, such as apple or cherry.
Set the Traeger to a nice low temperature. Most—but not all—meat cuts are good for braising are the tougher cuts that do best with low and slow cooking. For that reason, and to produce that wood-fired flavor, you want to set the grill temperature to between 225°F and 300°F.
Cook with the pot lid on but ajar. Many oven braising recipes instruct to cook with the lid on tightly to keep the liquid from evaporating. That’s fine, but if you are braising on a Traeger, you want some of that wood-fired goodness to get into the pot. You have a couple options: You can cook with the lid on for most of the cook and then take it off toward the end. Or you can cook with the lid slightly askew. The added benefit is that when the liquid does evaporate some, its flavor becomes concentrated.
Take off the heat when fork tender. To test for doneness, spear the meat with a fork toward the end of the cooking time. If the fork lifts the meat easily when you pull on it your braise is done**.**
Degrease the cooking liquid if necessary. Most braised meats will release fat into the cooking liquid. And while fat adds flavor, too much will make it feel flabby. You can spoon off the liquid fat that rises to the top or transfer the liquid to a gravy separator. Even easier, chill the braise; once cold, you can lift the hardened fat right off. The bonus to this method is that braises taste even better if made a day or two ahead and then gently reheated.
Consider reducing the liquid for stronger flavor. Some braises benefit from the braising liquid being boiled (with the meat removed) until reduced some. This concentrates the flavor, and, in some cases, thickens the liquid a bit.
How to Braise Fish and Vegetables
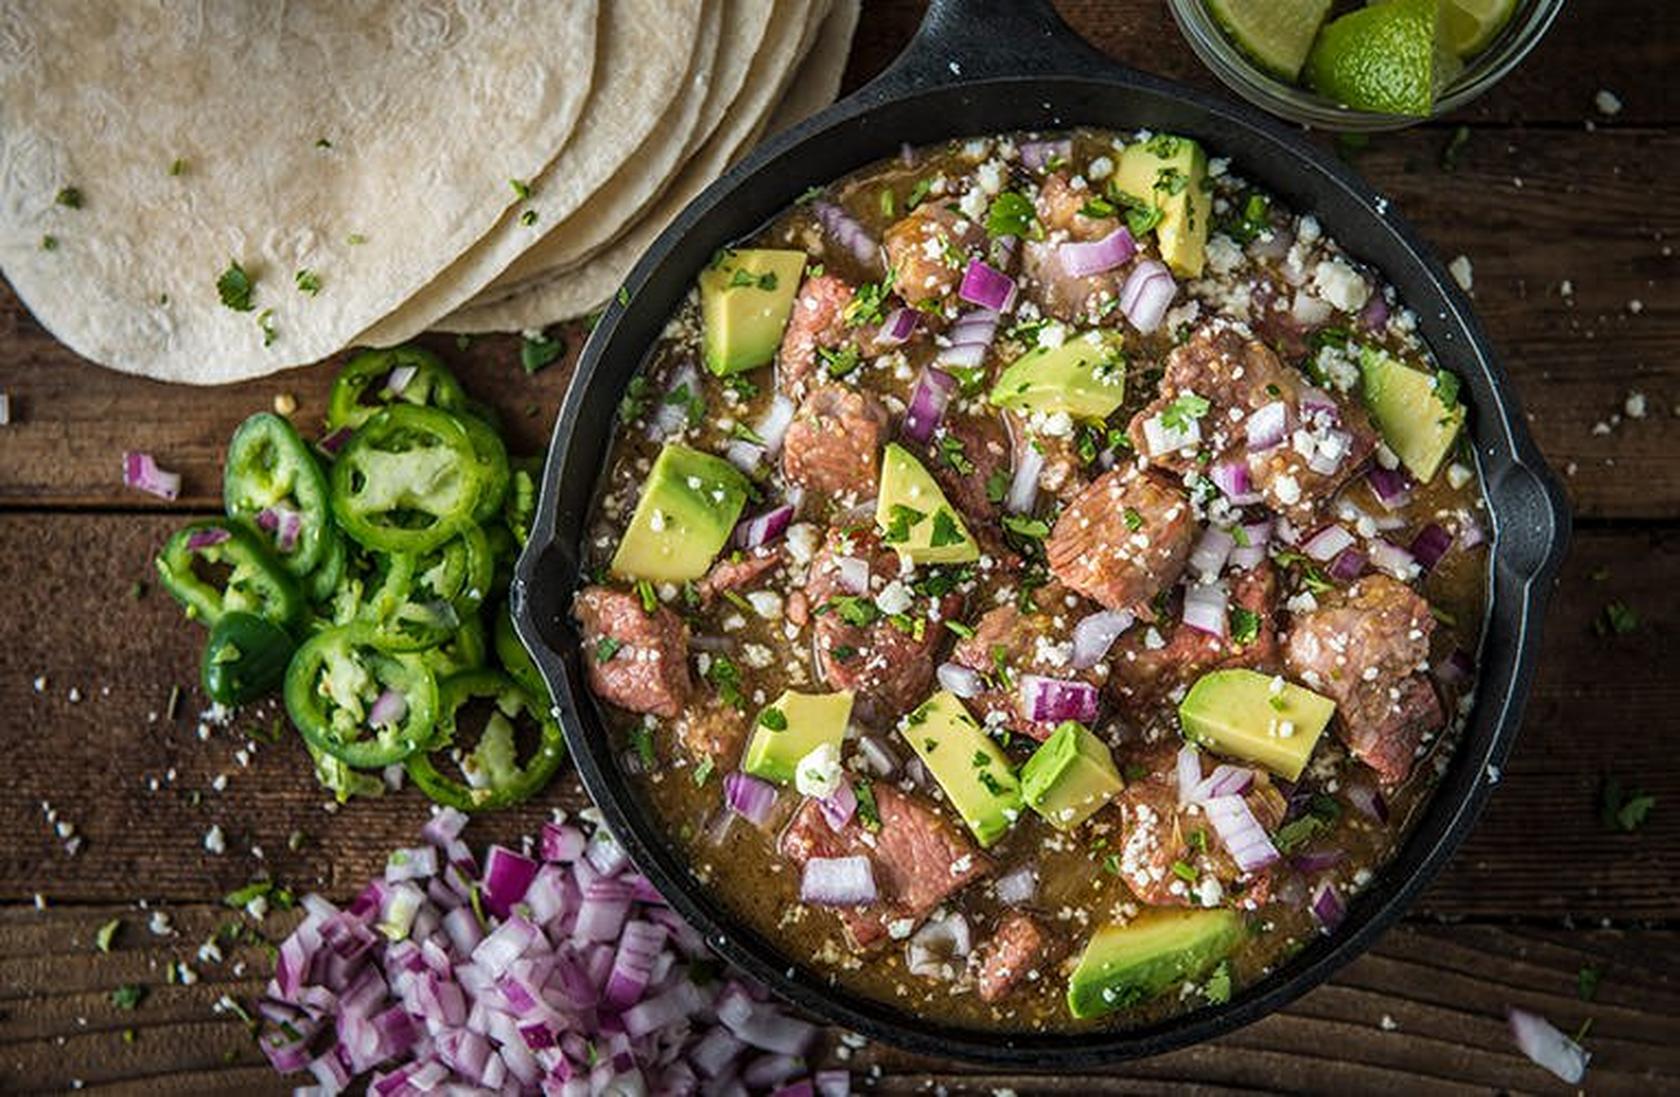
Though tough cuts of meat benefit the most from a long braise, fish and vegetables can be braised for shorter periods to make them tender and build a delicious sauce to go with. Sturdy fish like halibut as well as squid do well when braised for a short period as in this take on cioppino. Hearty vegetables like cabbage, winter greens, fennel, turnips, and beets are best choices when it comes to braising.
What to Serve with Braised Dishes?
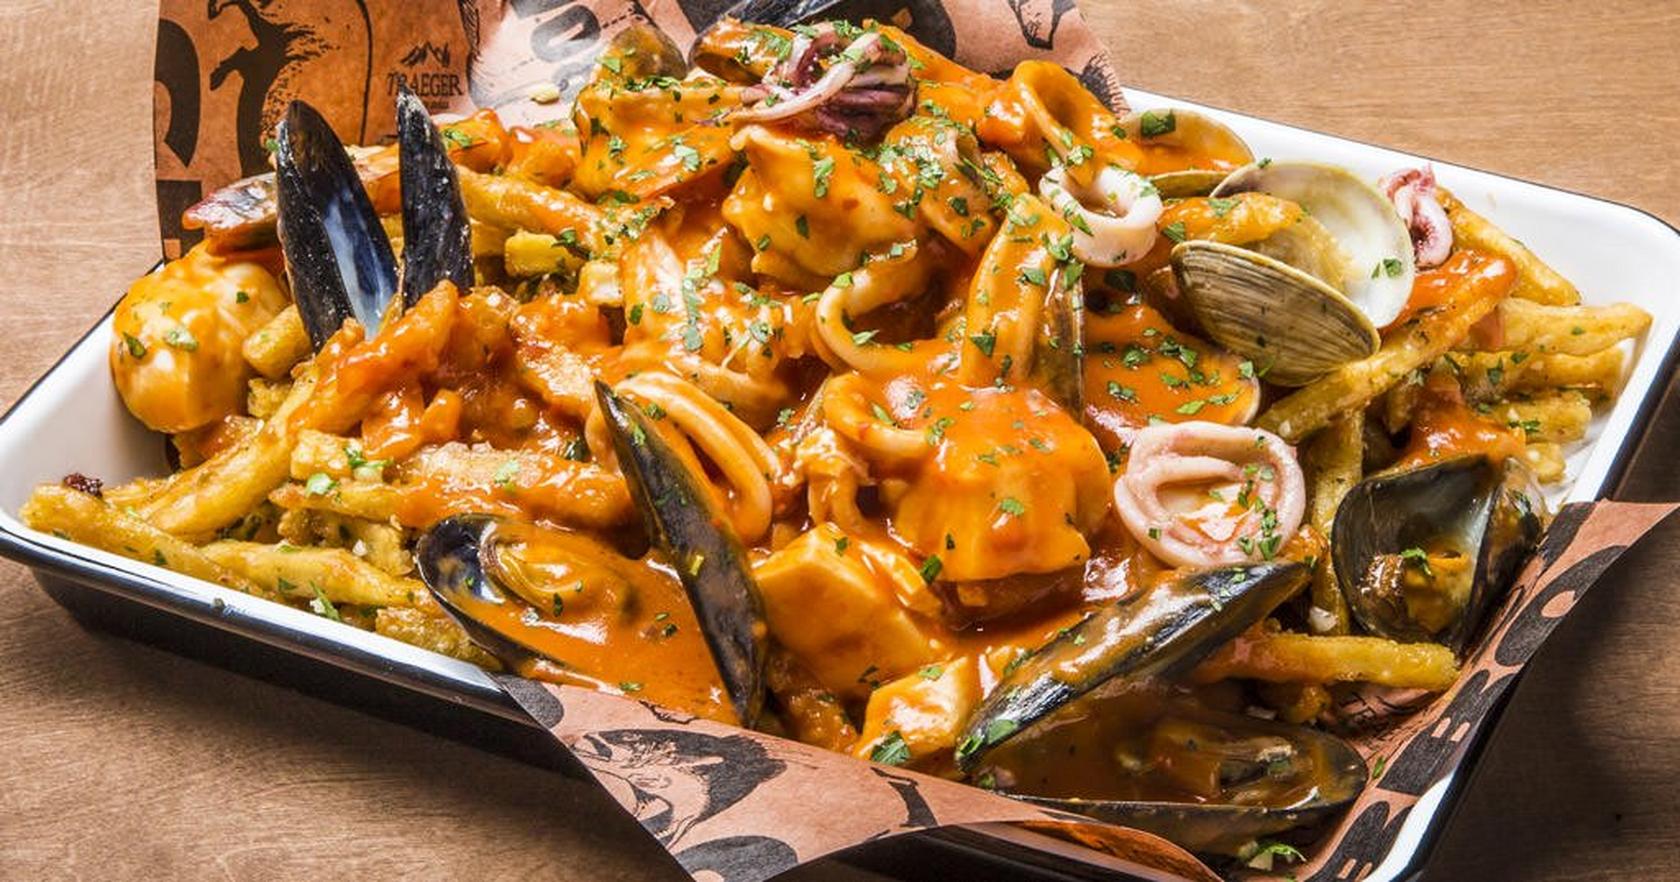
Because they automatically come with sauce, you will want to serve braised dishes with a starchy side to soak up some of the awesome flavor. That can be as easy as good crusty bread. Other good options include pasta, mashed potato or roasted potatoes, grits,and rice.
Braising FAQ
Can I make a braise ahead of time?
Yes, and it will taste better for it! Remove the meat from the liquid and store it, covered, and refrigerated, separately from the liquid, which should also be covered and chilled. Before reheating, remove the hardened fat from the liquid. Return the meat to it and reheat it over very low heat until hot throughout.
Does the food in a braise need to be completely submerged?
No, usually the liquid comes partially up the sides of the food.
Can you braise smaller cuts of meat?
Yes. Braising is not just for pork shoulder and chuck roast. You can braise smaller short ribs and chicken pieces, like thighs. They will just take less time.
Can I braise in milk?
Yes. Milk braising, especially for pork and chicken, has become popular. The lactic acid in dairy will tenderize the meat. Because of the sugars in the milk, it will also caramelize adding color and deep toasty notes.
